How to Install a Torsion Cable in a Code Zero
Follow along with the Precision Sails’ crew as we show you how to install a Selden torsion line into the sleeve of a Code Zero sail. This guide shows the installation of a torsion line for boats over 40′. Torsion line kits for smaller boats will require less clamps and less additional length on either end of the torsion cable.
What You Will Need:
- Torsion cable and clamp hardware
- Rubber mallet
- Wooden block
- Utility knife
- Zip ties
- Locking vice grip pliers
- Heat shrink
- Heat gun/lighter
- Lashing chord
- Tape measure
Step 1: Determine Torsion Cable Length
Ask your sail designer or rigger for the overall length needed for your torsion cable. This is slightly shorter than your maximum luff dimension (taking furling blocks into account on either end) and longer than the luff of the sail you are installing it into.
For larger boats leave about 16 inches of room from the top of the thimble to the end of the torsion line. For smaller boats leave approximately 12 inches. You can trim the excess length afterward if you would like.
Mark the Torsion Line at the top of the thimble on the first end. Measure along the cable to the overall torsion cable length you need. Mark this location. This will be the top of the thimble on the second end of the cable.
It is possible to finish one end (minus lashing to the sail) before installing the cable through the sleeve. If you have a zipper sleeve you may finish both ends before installing.
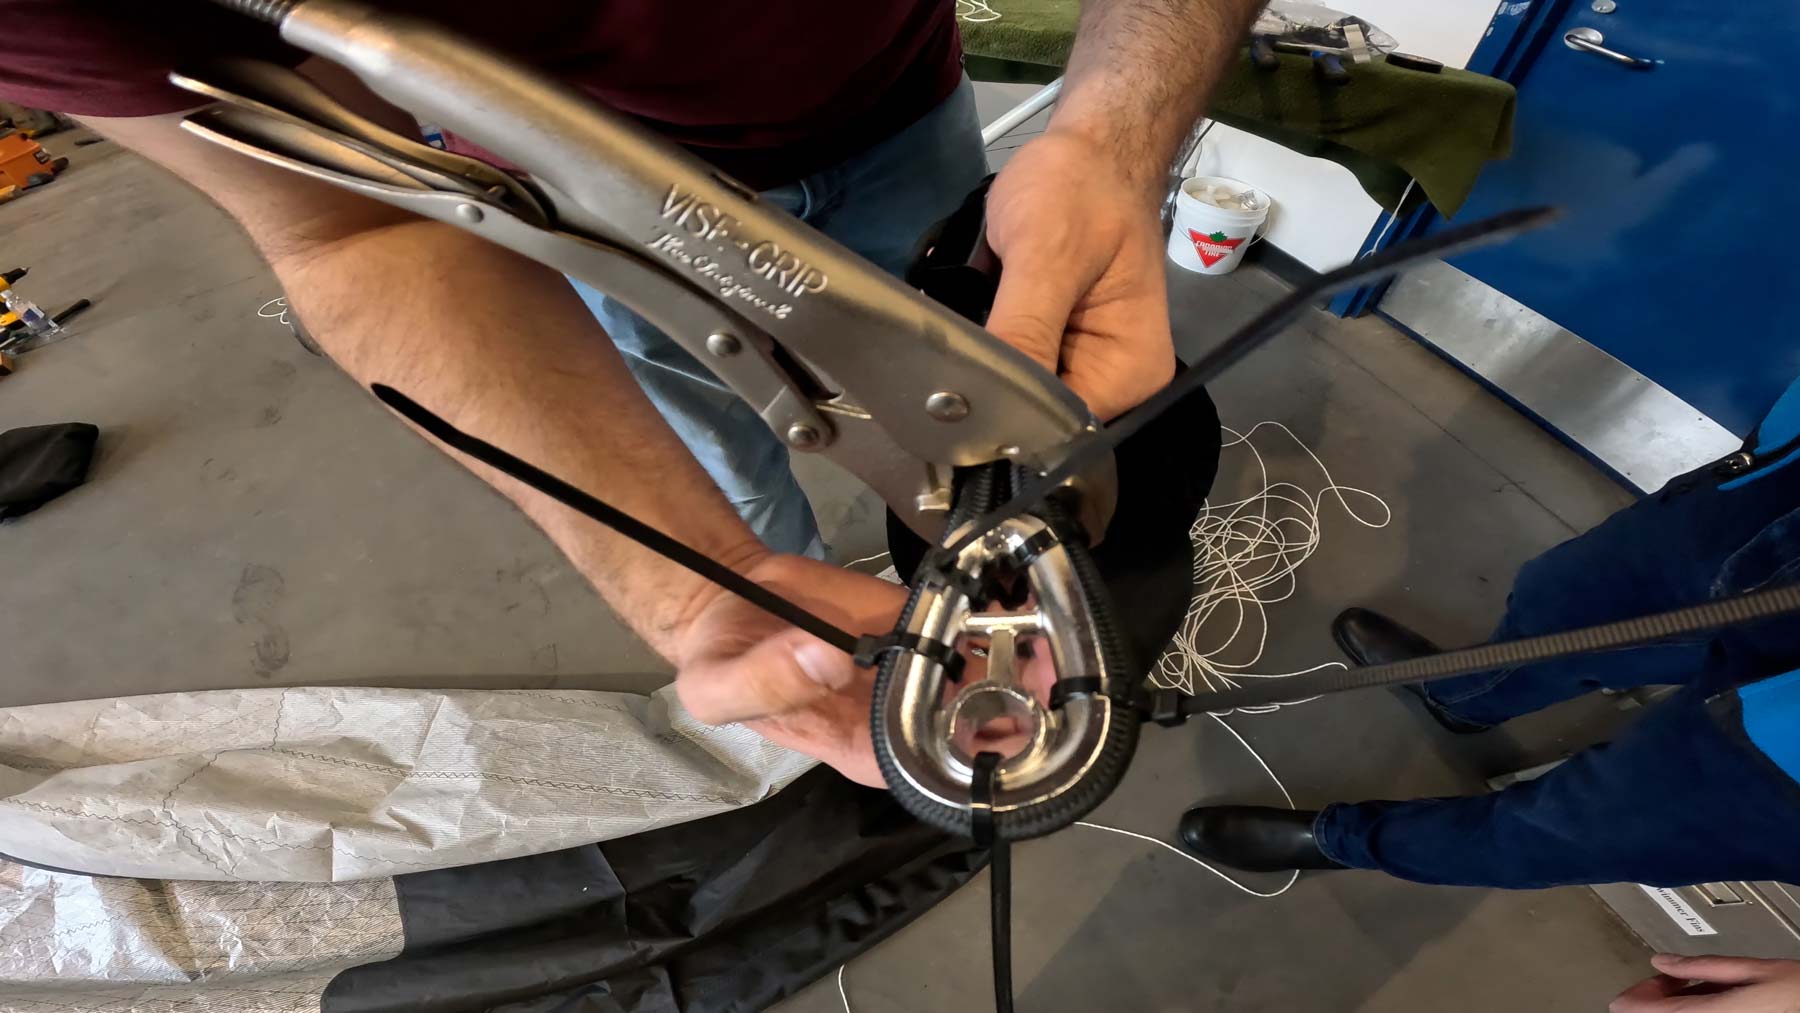
Step 2: Attaching the Thimble
Use zip ties to secure the thimble on the mark you placed. Then slowly add more zip ties as you apply pressure and curve the cable around the thimble.
Once you reach the bottom of the thimble you may need to use pliers to apply more pressure depending on how thick the Torsion Line is that you are installing. Apply a few zip ties around the base of where the two cables meet and remove the pliers. Ensure the cable is tight around the entire thimble.
IMPORTANT! Make sure to slide your heat shrink tubing on before attaching the zip ties.
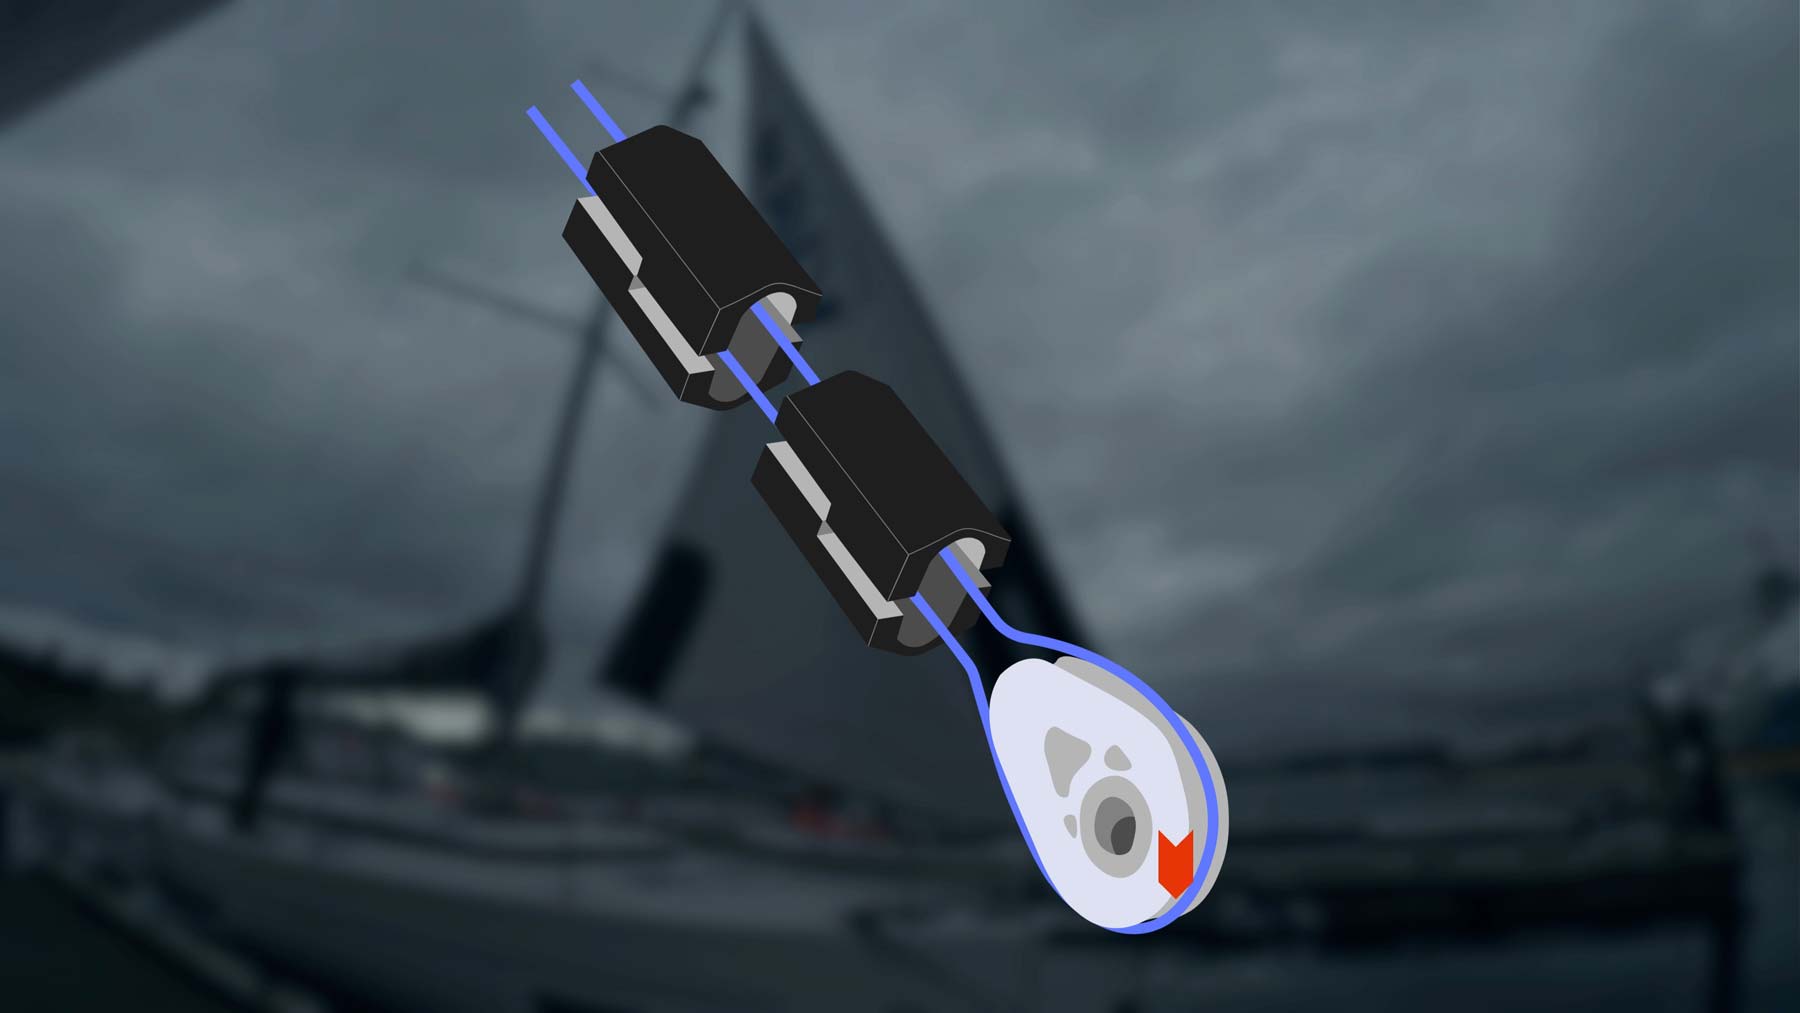
Step 3: Attaching the Cable Clamps
Depending on where you get your torsion line from the type of clamp you have may be different, but the principle still applies. In this case, we are using the clamps provided from Selden. They have specified two clamps on either end of the cable for the Bavari 42 C that this Code Zero will be installed on.
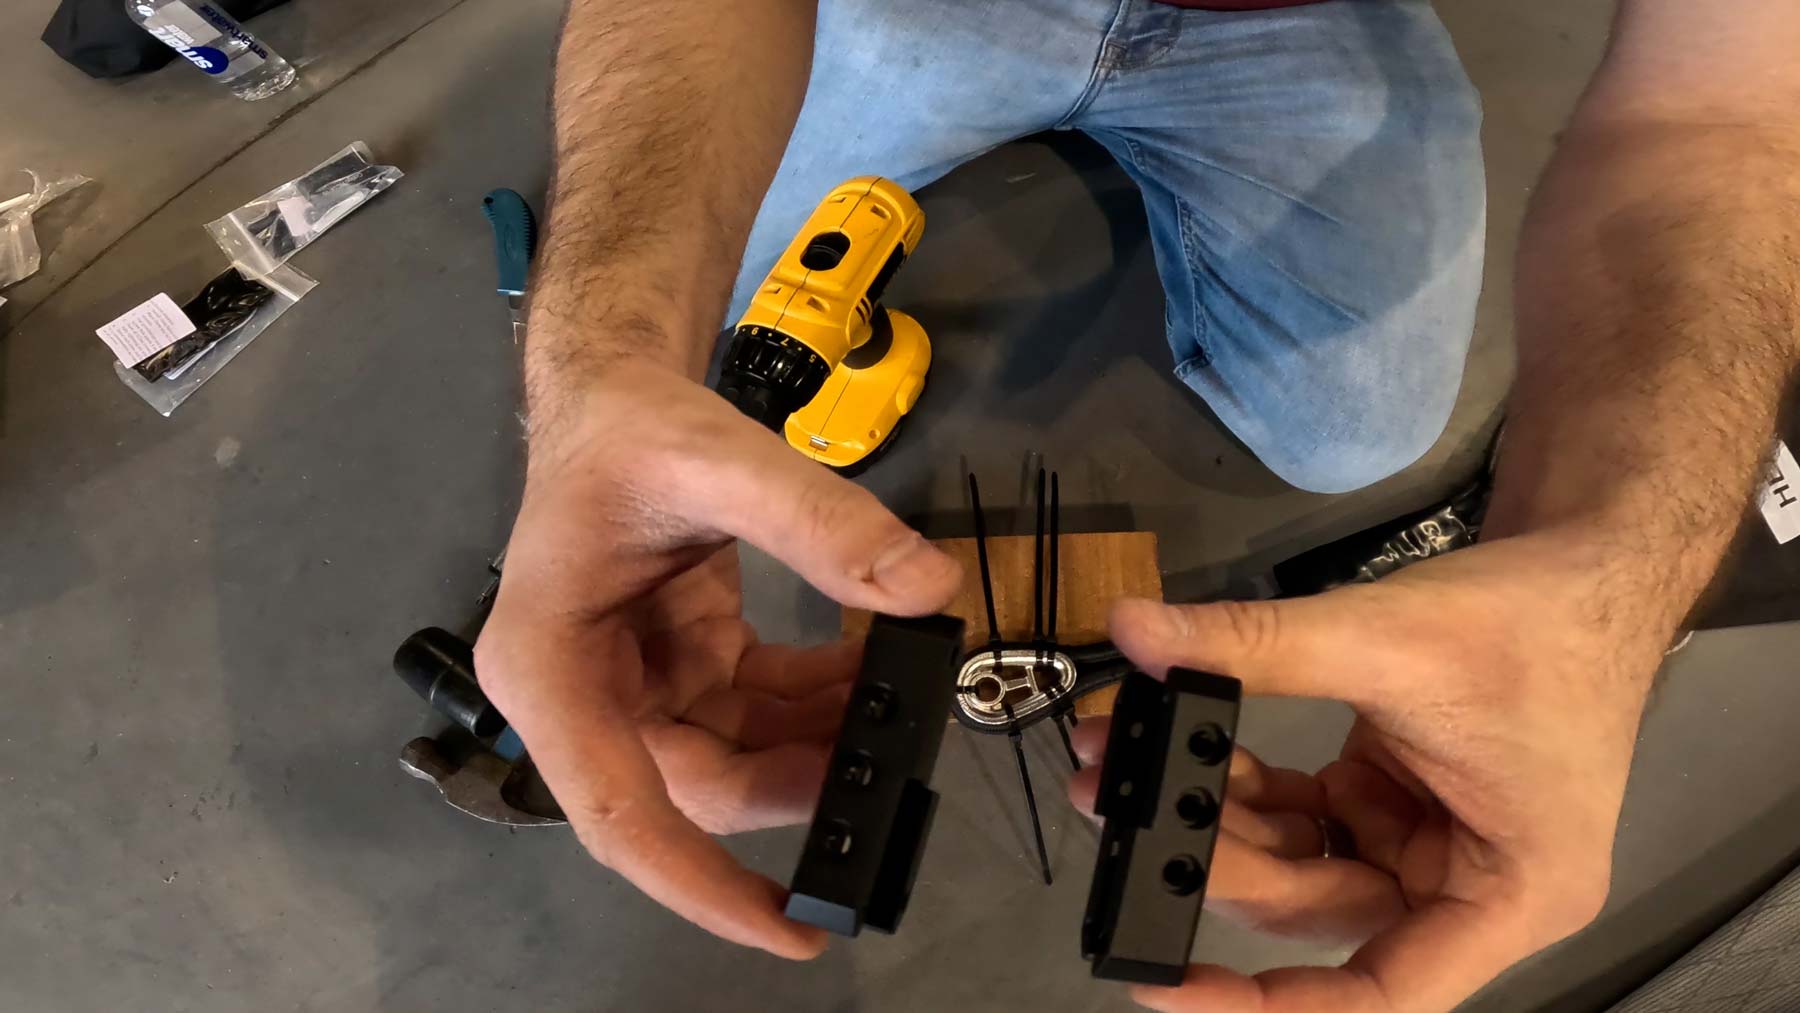
On a wooden block (or similar surface) line up the 1st half of the clamp with the cable as closely to the thimble as you can. Use a rubber mallet to push the clamp onto the cable. If you have a smaller torsion cable that fits easily into the clamps you will also receive an insert that you will use when installing the second half.
Line up the second half (use the insert if required) and install it on the other cable. These Selden clamps interlock, ensure that you have them aligned properly for the through screws that hold them together.
If your clamp is not lined up with the thimble or is on an angle to the other clamp you can hit the edge of it with the rubber mallet to rotate it around the cable. You may be able to do this by hand if your cable is thinner.
Step 4: Securing the Clamps
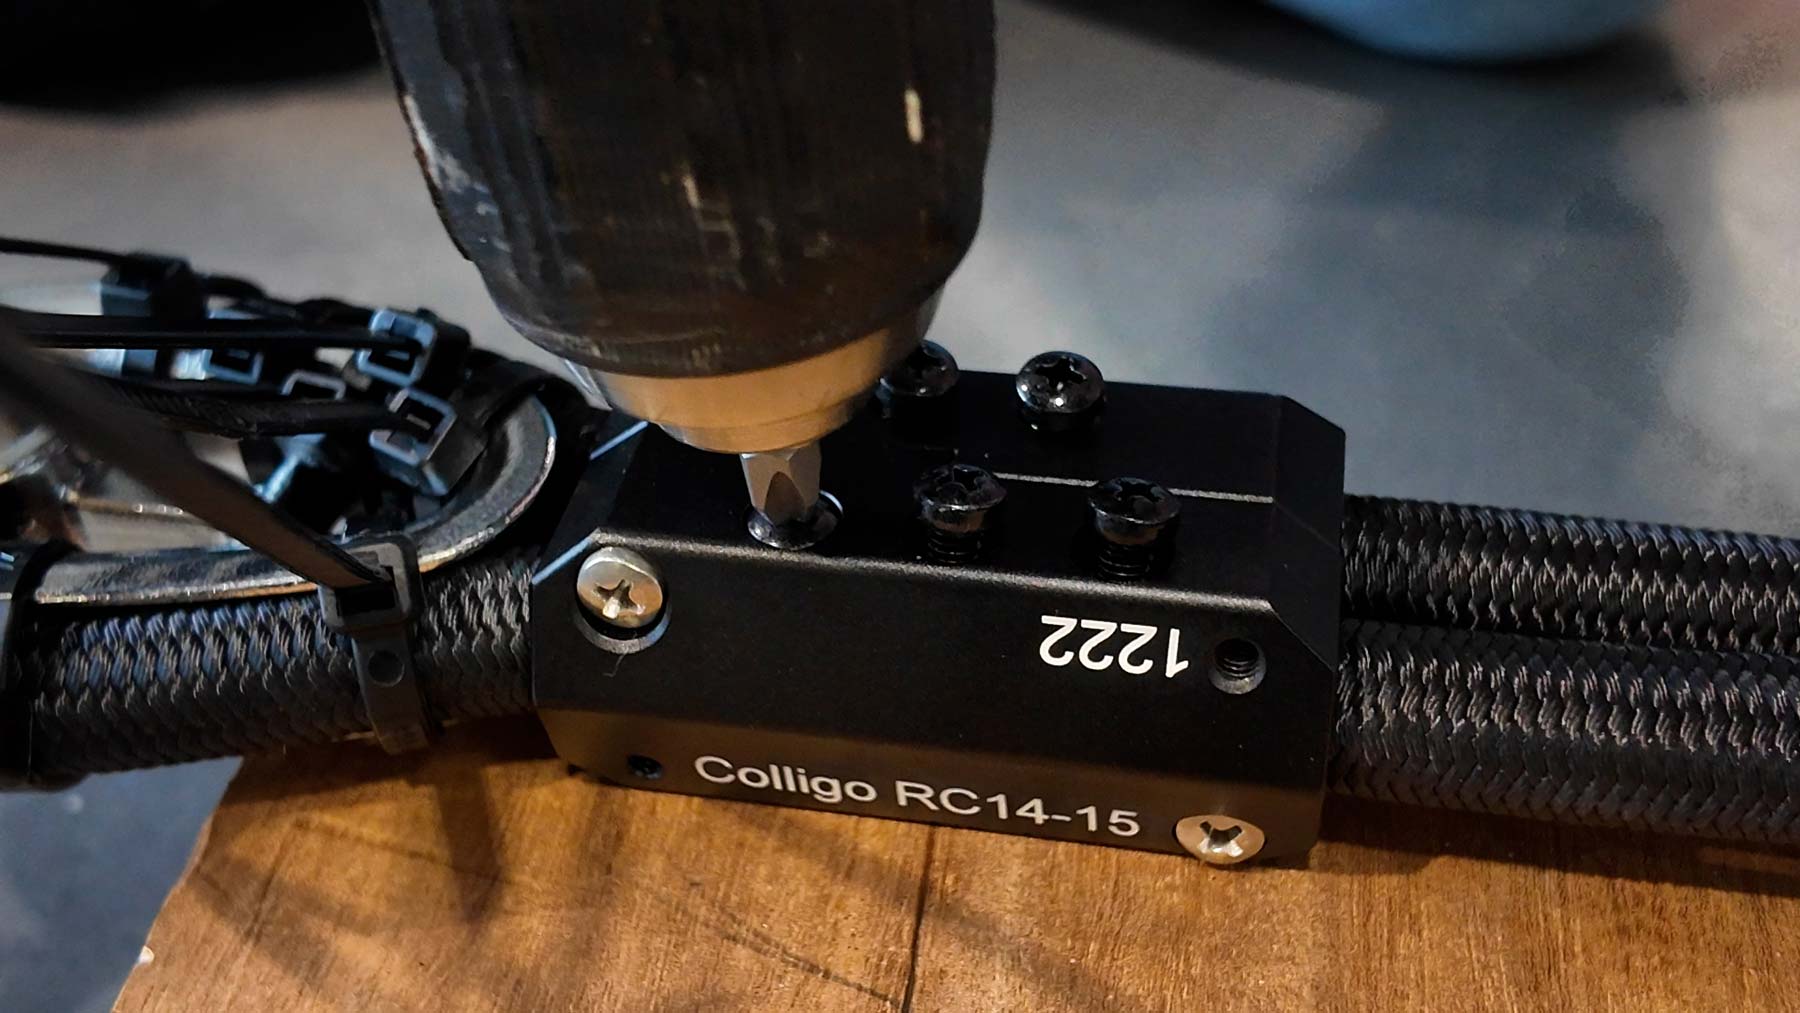
Install the longer screws through both halves of the clamps. You may then remove the zip ties if you wish.
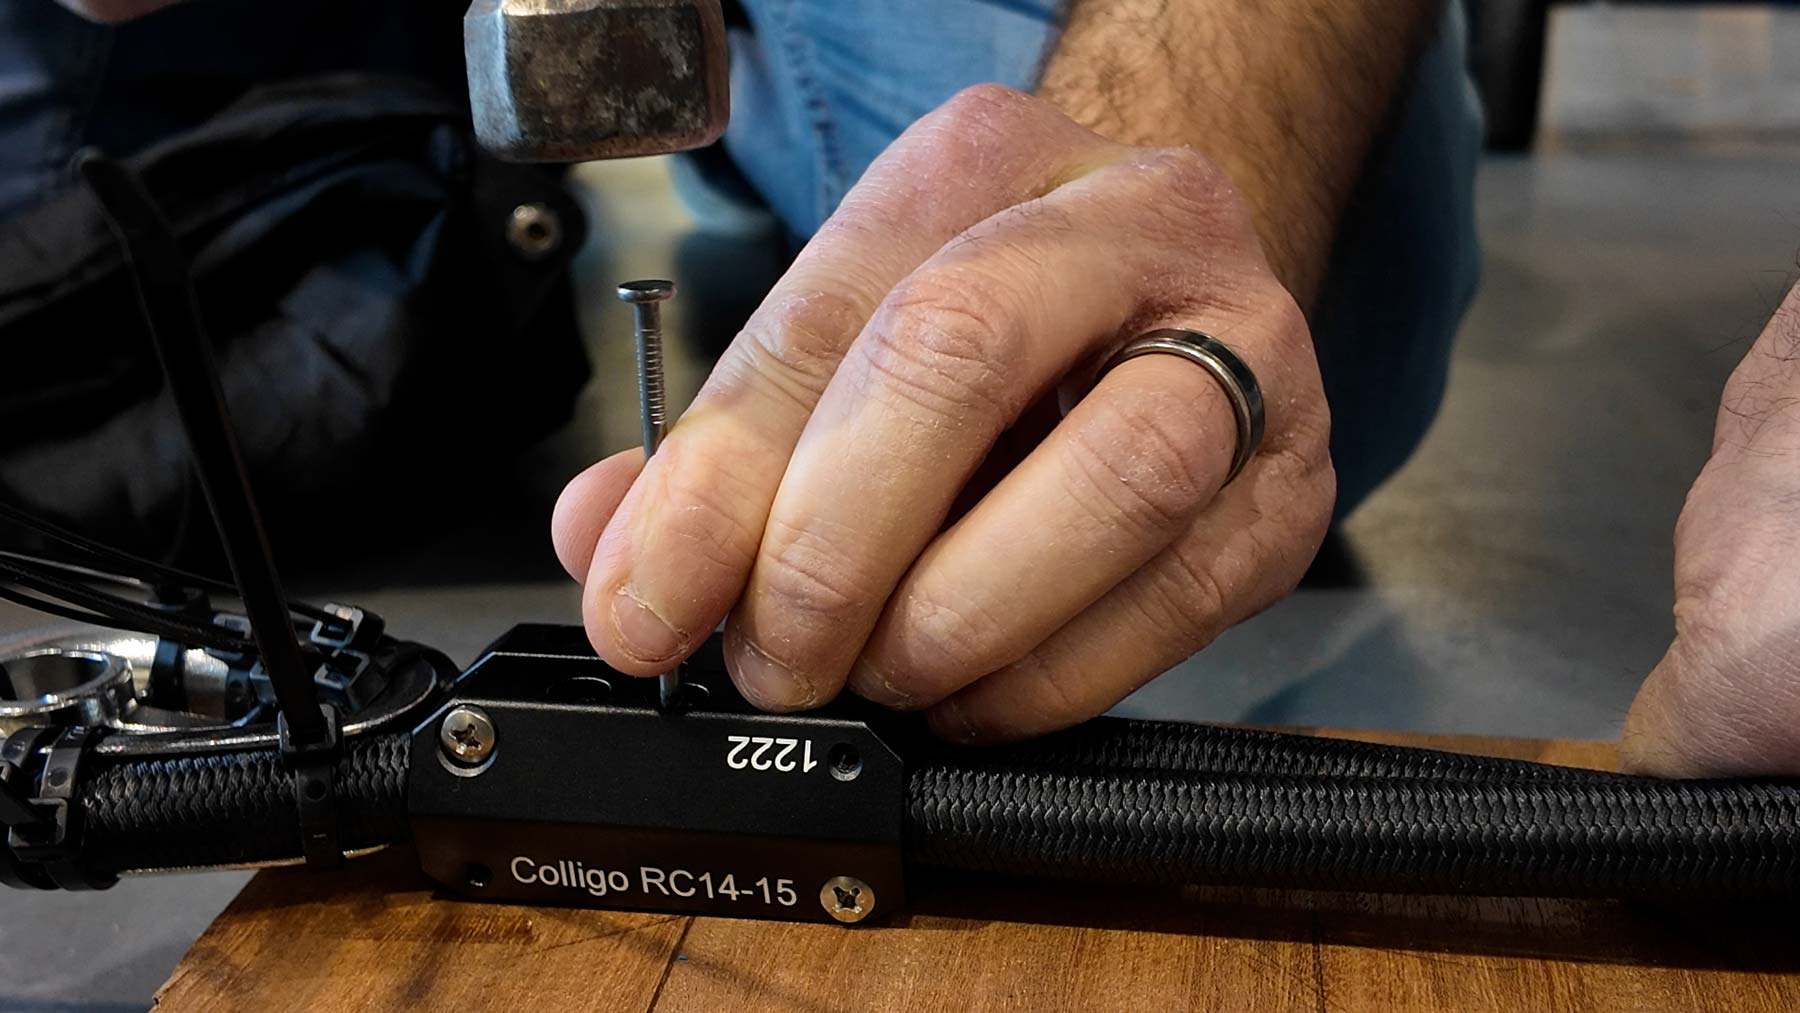
Place the clamps on the wooden block. Using the nail included in your kit carefully insert it into the set screw holes and hammer it into the torsion cable. The goal is to puncture the cable creating a spot for the set screws to rest without damaging the threads around the edges. Repeat this on all the holes.
Insert the set screws and tighten down. The set screws once installed will act as interlocking teeth and hold the cable in place preventing it from slipping or coming loose over time.
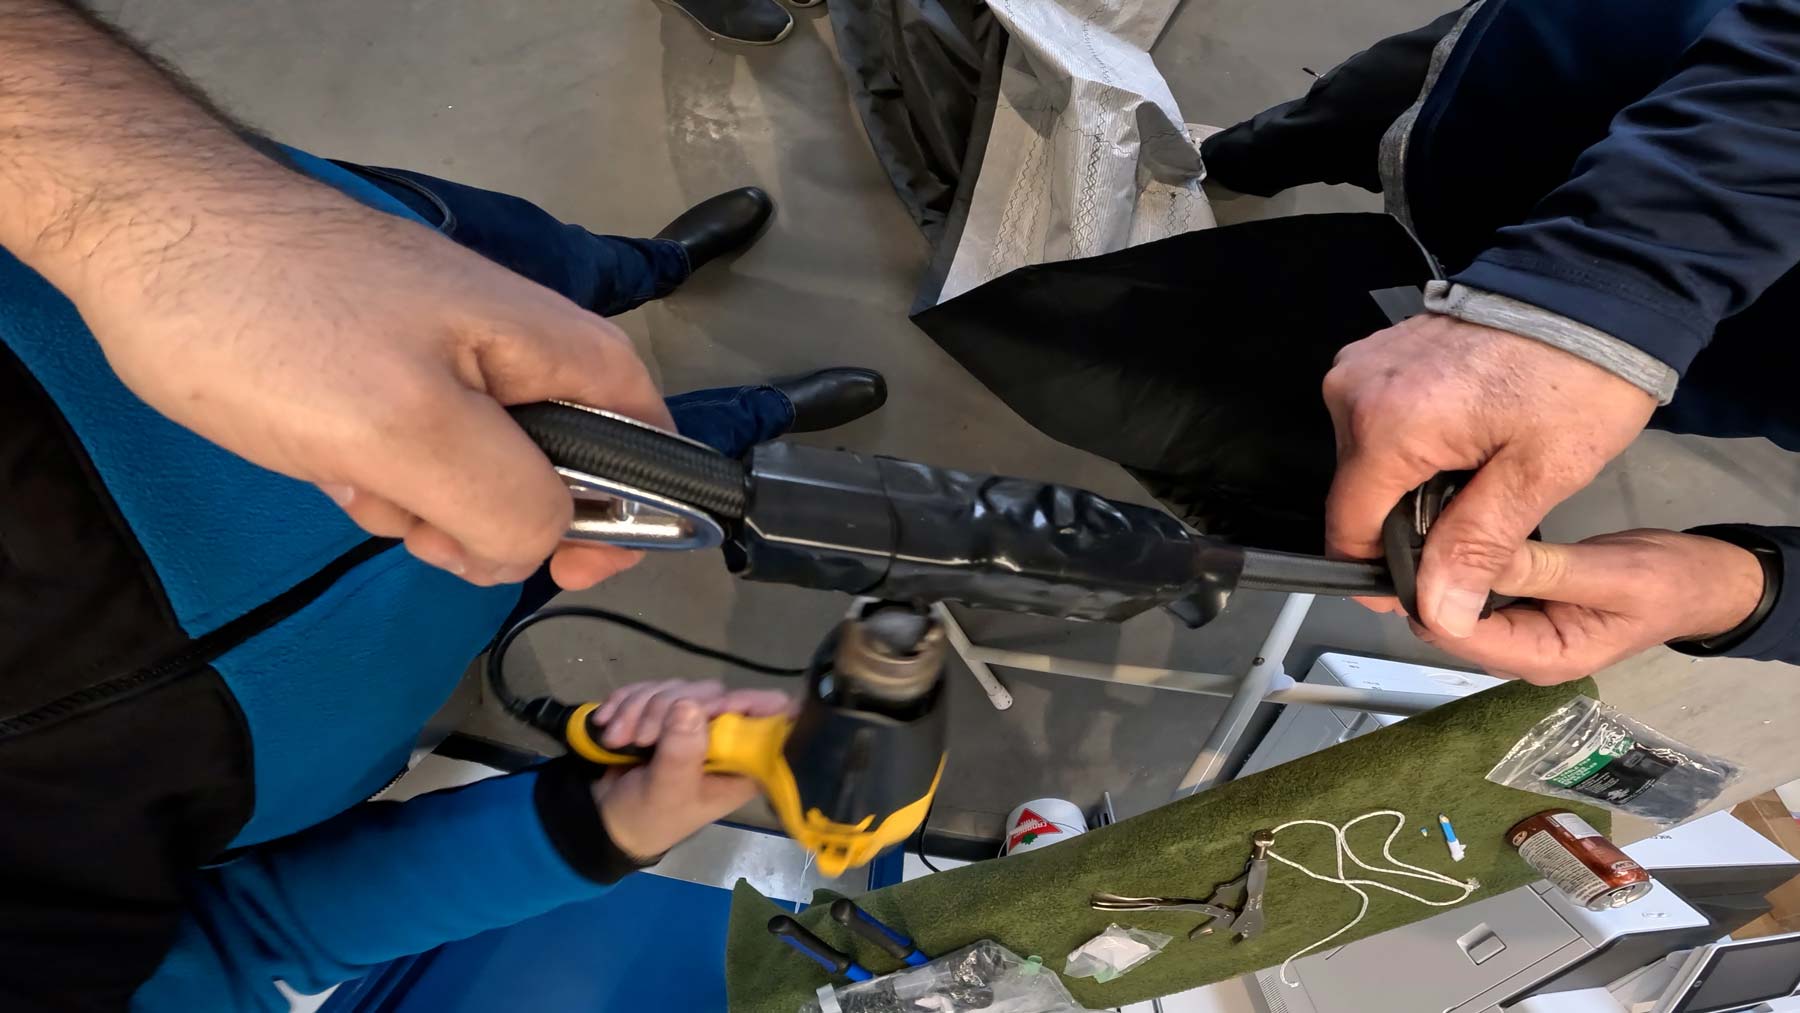
Step 5: Heat Shrink
Once all your clamps are installed you may then use the hear shrink tubing you installed earlier. You may use one longer piece or two smaller pieces to cover the clamps.
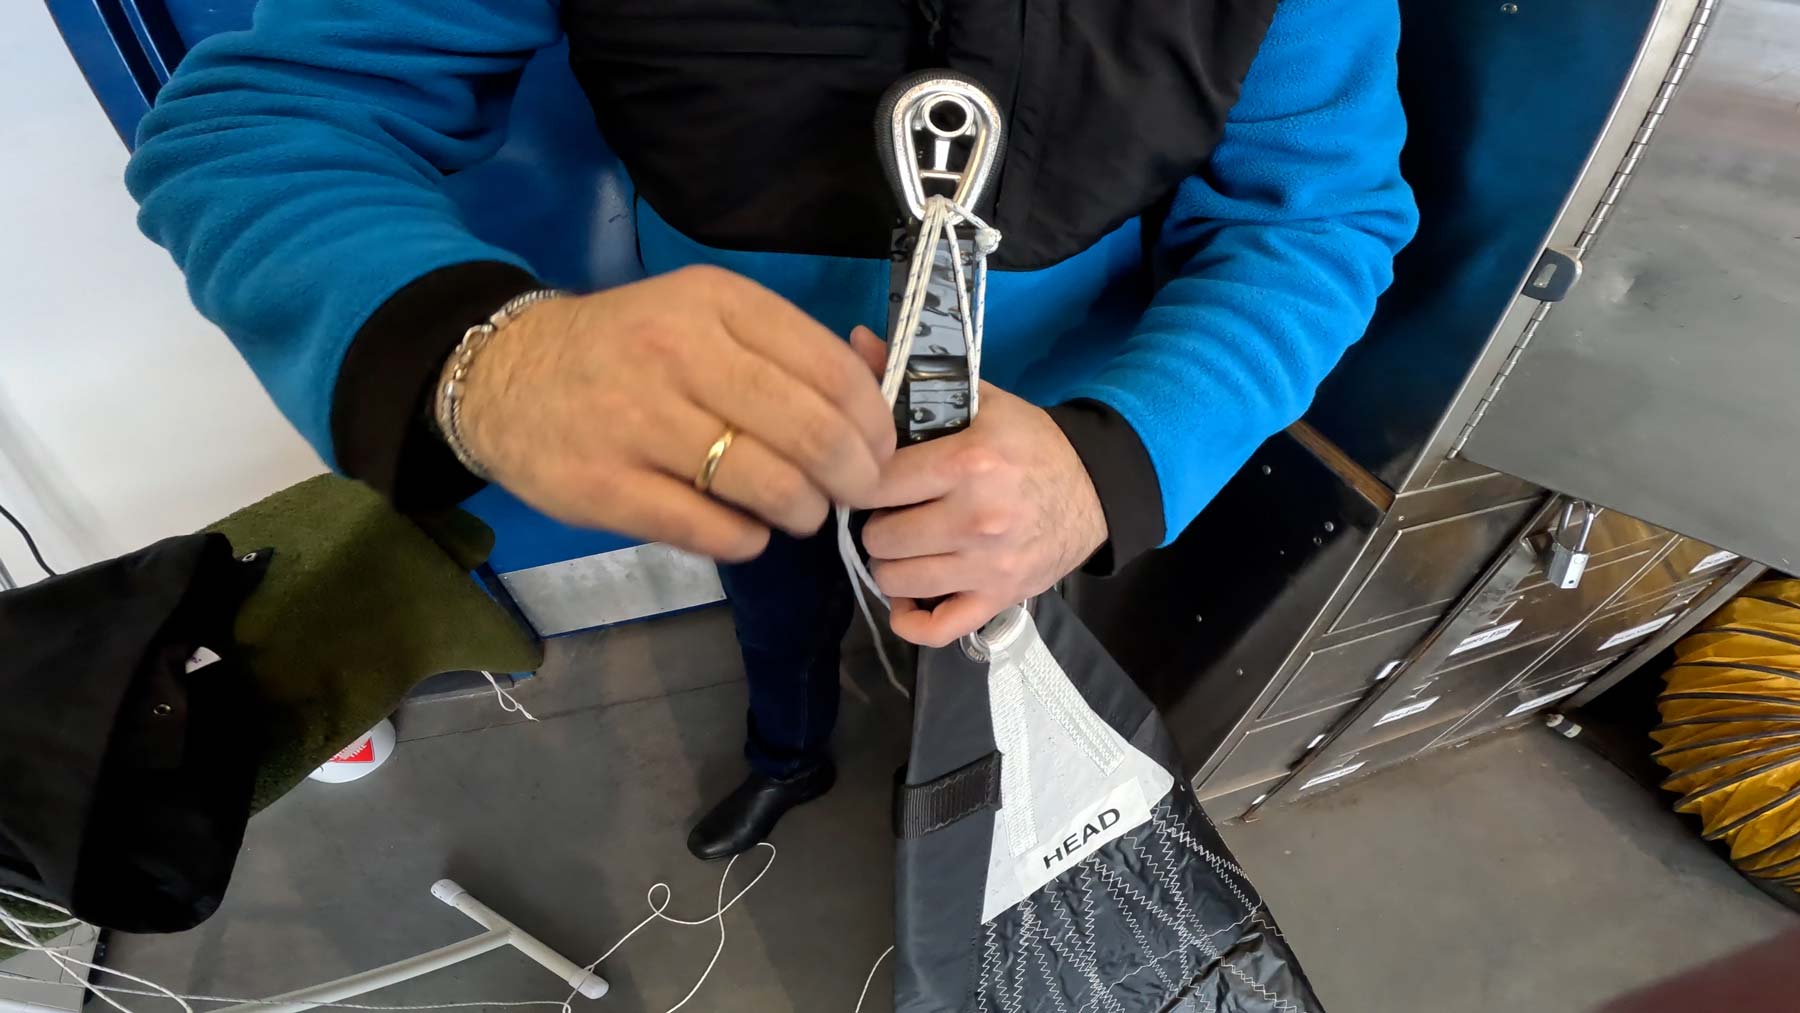
Step 6: Lash the Head and Tack to the Torsion Cable
Use the lashing chord you have to secure the head and tack of the sail to the thimble. If you have a small amount of excess Torsion Line you may slide it into the sleeve.
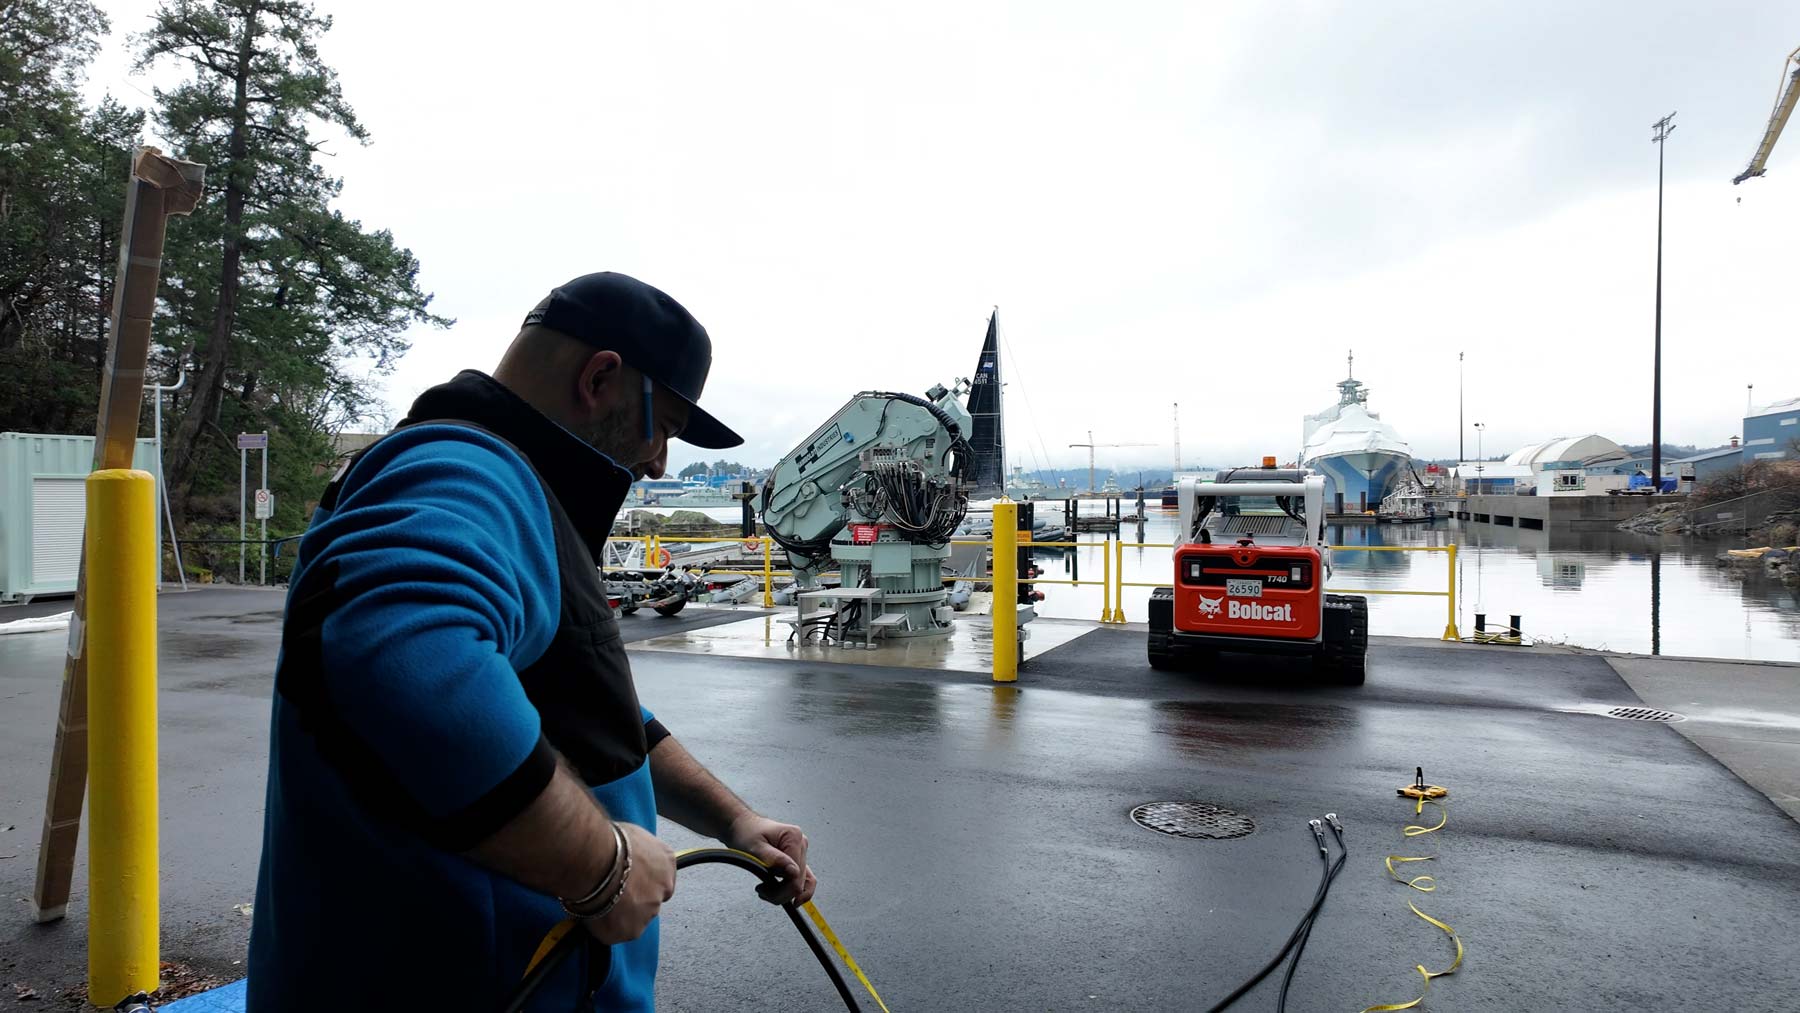
Step 7: Install the Sail
Install the sail and furl it a few times to wind it tight. Apply appropriate tension on the halyard to the Torsion Line.