This time on Ask Precision Sails, Jeremy (J2) is going to show us the Selden Multi-Directional Support (MDS) system and more importantly, how to install it onto your mainsail.
What is the Selden MDS System?
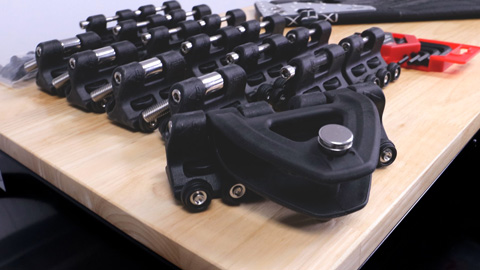
If you have never heard of the Selden MDS system before, MDS stands for “Multi-Directional Support” and the system is a collection of Batten Car Slides, Intermediate Car Slides, and a Headboard Assembly. The Multi-Directional Support is designed to provide an increase in handling and smoothness when hoisting or dropping your mainsail by:
- Reducing friction with smooth rolling wheels on the cars.
- Providing support for side loads and longitudinal loads with opposed load-bearing wheels.
NOTE: There are multiple shapes and sizes of the MDS components available from Selden. The installation will be very similar as they all function in a similar manner.
FAQ: Can I Add the Selden MDS System to my Mainsail?
If you are looking into adding the Selden MDS system to your mainsail, we recommend speaking to a specialist. Either Selden themselves or a local Rigger will be able to get information on what’s required.
What You Will Need for the Install
Before we begin the install, make sure you have the correct tools for the job. Fortunately, this is a very simple system to install and all we will need is:
- Your Mainsail.
- A set of Allen (Hex) Keys.
- Your set of Selden MDS hardware, which includes: Intermediate Slide Cars, Webbing Loop Toggles, Batten Slide Cars, and a Headboard Assembly.
When ordering a new mainsail from us, let your Sail Designer know that you plan on using the Selden MDS system and they will make sure that your sail comes with the correct hardware. This includes: batten receptacles, the correct diameter webbing loops, and a headboard mapped out for the headboard assembly.
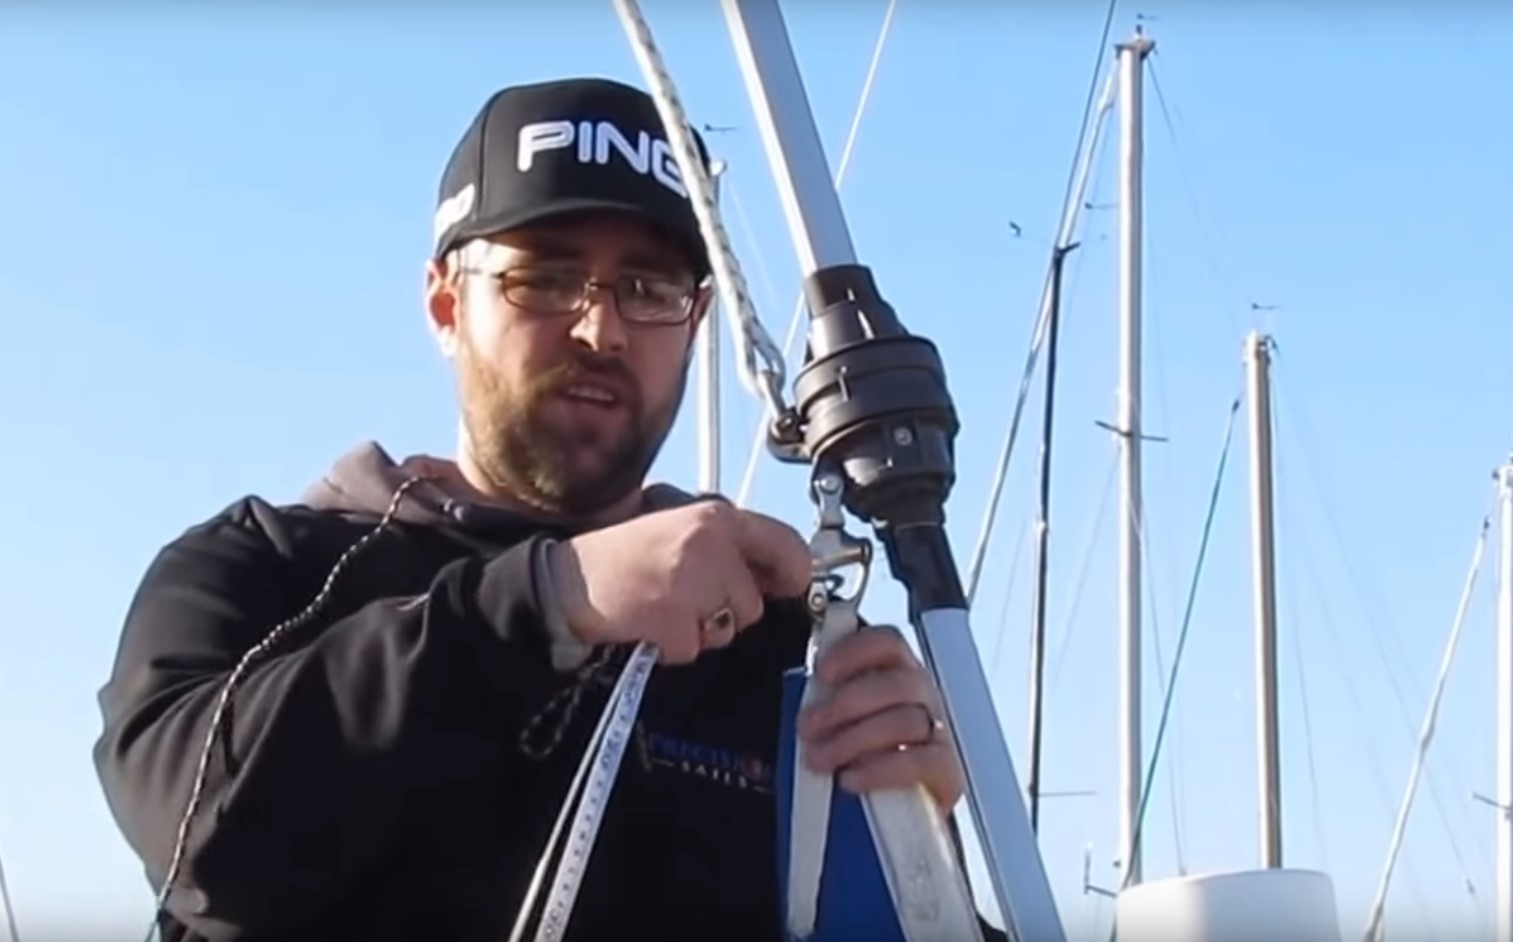
Installing the Headboard Assembly
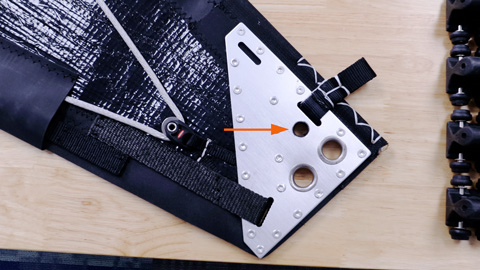
To start the headboard assembly install, first remove the pin by sliding the toggle sideways to release the lock. This will allow you to slide the assembly over the headboard on your mainsail at the location mapped out by your Sail Designer and slide the pin back through.
FAQ: Why is there a Webbing Loop on my Headboard?
If you purchased the Selden MDS system with a new mainsail from Precision Sails, your Sail Designer may have included a webbing loop on your headboard. This is included just in-case your headboard assembly doesn’t arrive at the same time as your new mainsail (E.g. it was back ordered at the time of purchase).
The webbing loop can be used with an intermediate car in the meantime, but will need to be removed in order to install the headboard assembly.
FAQ: How do I Remove the Headboard Webbing Loop?
The webbing loop on your headboard is easy to remove with anything sharp that you can cut the lines with. We recommend using small shears or seam rippers; but scissors, a knife, or razor blade can also be used. Be very careful when using these tools not to cut or rip your sail!
Installing an Intermediate Slide Car
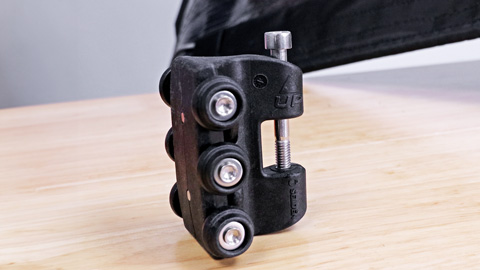
This is the most common car that you will be installing. To start, you will need to push one of the plastic toggles into the webbing loop. These toggles will provide a smooth rotation to your car and increase the lifespan of your webbing loop.
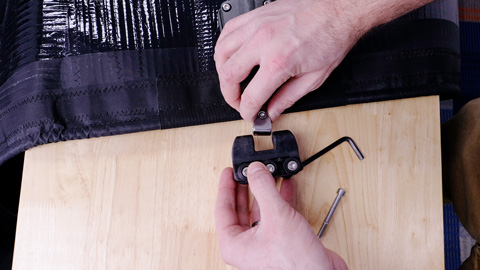
Next, simply remove the pin from your intermediate car using an Allen key and slip the opening of the car over the webbing loop. Before you add the pin back through the car, make sure that the arrow on the car is pointing towards the head of your sail.
TIP: If you are struggling with getting the pin to line up with the car; try removing the car and re-installing it perpendicular to the direction of the sail.
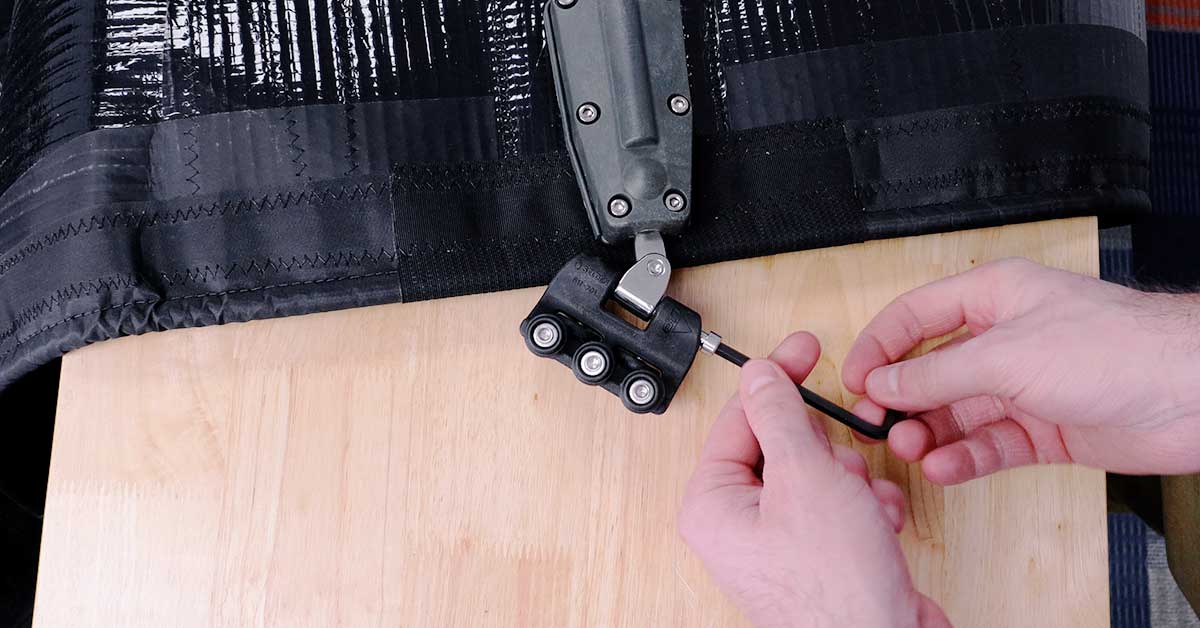
Installing a Batten Car
Lastly, it’s time to install the batten slide cars. There are two methods that you can choose from when installing the batten cars onto the receptacles:
- Simply thread the assembly into the receptacle.
- Remove the receptacle pin from the car and install that first, adding the car second in a similar fashion to the intermediate cars. (Recommended)
Just like the intermediate cars, make sure that the arrow is pointing towards the head of your sail. This will be easier to do with the second method of installation.
Key Takeaways
That’s how you install each component of the Selden Multi-Directional Support system. Simply repeat these steps for each of your slide cars to complete. While doing this, remember to keep these two key steps in mind:
- Carefully remove the headboard webbing loop if needed.
- Double check that all of the arrows are pointing to the head of the sail.
Safe Sailing!