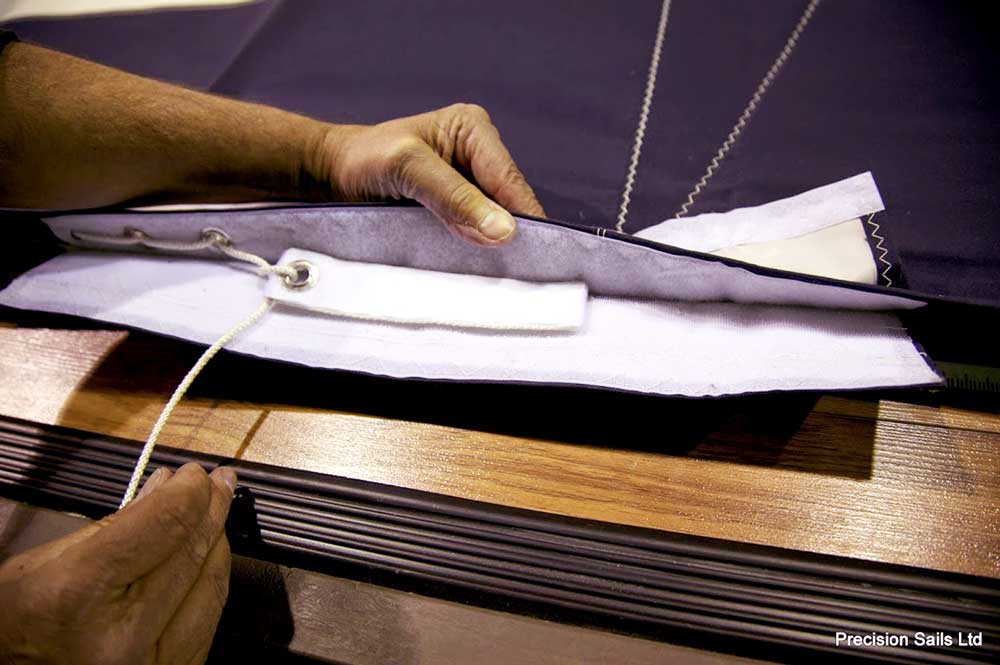
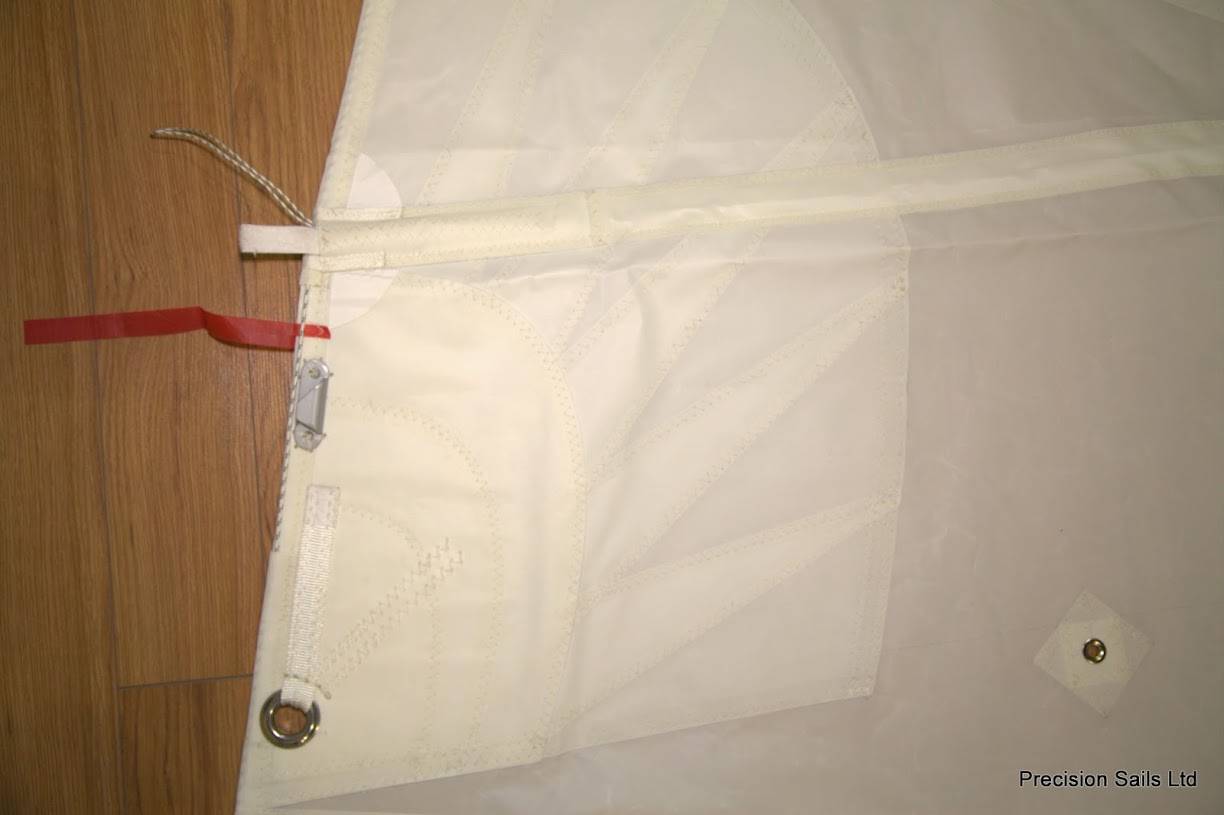
A leech line is attached at the head of your sail and runs down to just above the clew. This line can be usually be adjusted using cleats, or Velcro tabs at the clew or intermediately at reefs. Tensioning this line reduces flutter in the trailing edge of the sail and improves sail shape. Foot lines run along the foot of the sail between the tack and clew. These lines have become standard on both mainsails and headsails but do not require much time and effort to install on an older sail that does not have them. There are a few configurations of leech lines, but we will get to that in a minute.
Clam Cleat
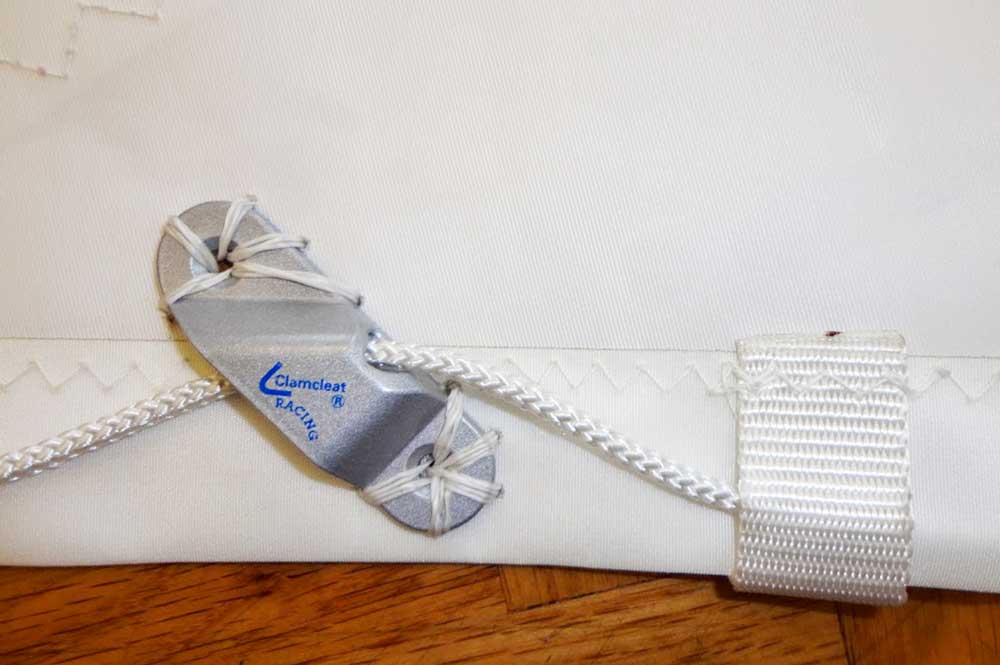
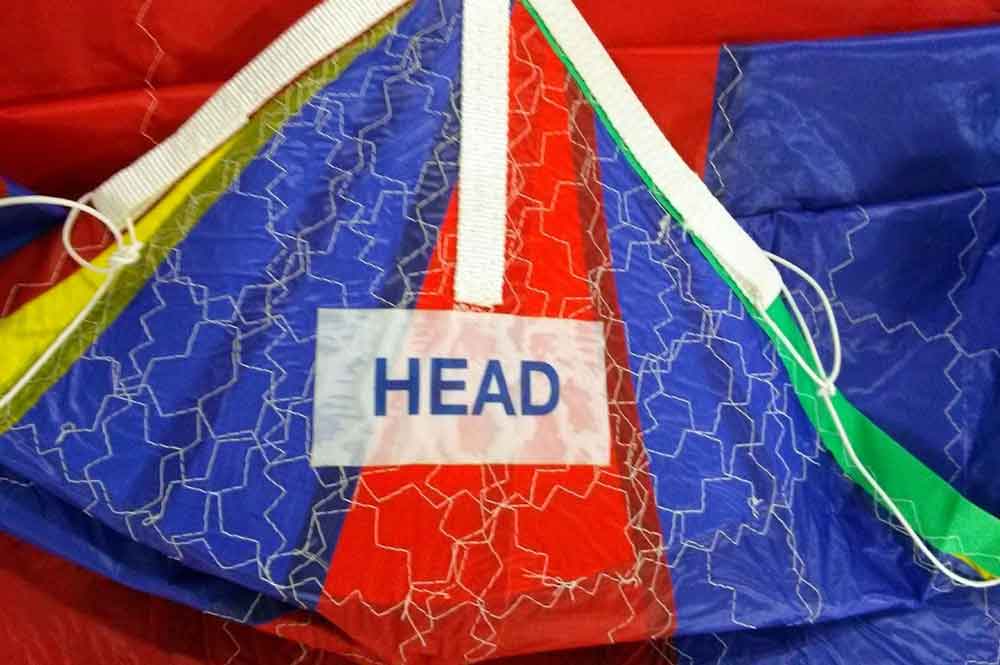
Velcro tab and cleats are two ways of adjusting the Leech and Foot lines of a sail
After properly trimming your mainsail or headsail you might notice a slight flutter on the trailing edge or foot of your sail. Removing the line from the cleat or Velcro enclosure and tensioning it before securing it will help to create a more defined edge to your sail. This will increase performance (sail shape) and reduce wear-and-tear to your sail caused by the rapid fluttering. This fluttering causes the scrim (Laminates) or weave (Dacron) of your sail to bend rapidly which can lead to weak points in the cloth. On reefed mainsails cleats located above the Cunninghams will allow you to tension the adjusted sail area properly. Similarly, leech lines should be adjusted on headsails that are partially furled based on the conditions.
Cleat used for adjusting the leech line located above the cunningham on a mainsail
Typically leech lines will are configured in two ways: Attached to the head and running down the leech; or in an over-the-head setup. The former is the most common, however, with certain sail configurations (such as having a raised boom or a high clew on a genoa) the cleat at the clew can be located at an inconvenient height for adjustment. An over-the-head leech line solves this problem by running from the clew of the sail up along the leech, through a block at the head of the sail and down the luff to a cleat located above the tack. There are a few variations, single or 2 or 3:1 but the the principle of principle is the same: to increase the ease-of-use to adjust the leech line tension from tack of your sail. While these systems can be convenient, they do come at an increased cost as more hardware, time, and sewing are required.
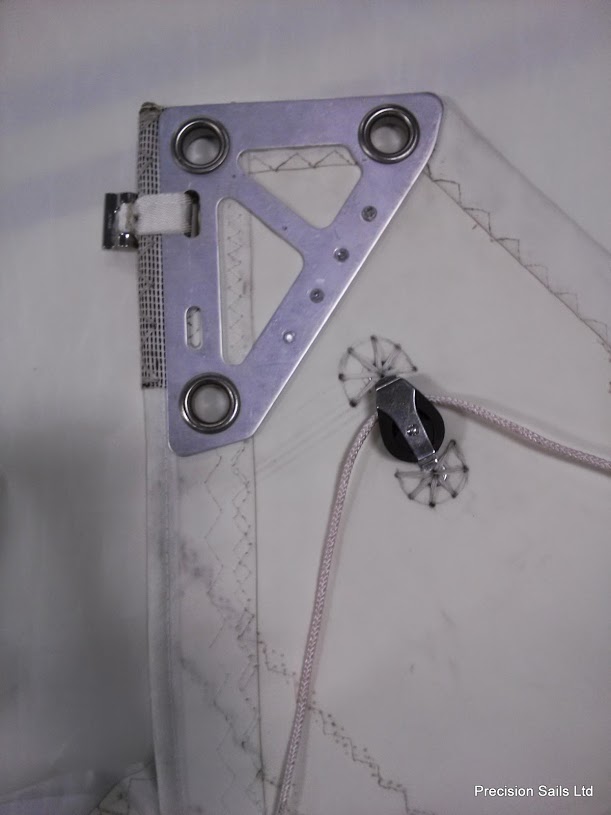
Over-the-head configuration of a mainsail
Relaxing the line is also important to remember to do. Keep an eye on the wind conditions and adjust your lines just as you would trim the rest of your sail. When you notice fluttering on the edge of your sail begin with applying a small amount of tension to the appropriate line. Once the wind reduces if you notice a slight wrinkle in the sailcloth then release the tension on the line to its normal position. As a rule of thumb, the stronger the wind then the greater the tension needed, and visa versa.
Lastly, don’t forget about your spinnaker! Asymmetrical and symmetrical spinnakers will also have lines that can be adjusted to tension the edge of the sail and this can help with making a great sail shape.
Two lines tied-off at the head of a spinnaker